

April 28th, 2012 12pm-6:30pm @Red Engine Studios Downtown
CHRISTIAN SCHELLEWALD + PATRICK HANENBERGER
KOLONIE
| World Building |
Christian teaches at Art Center College of Design(?). He went to art school in Germany--which was free (well, students had to pay $100, but they got a free bus pass out of it--"a good deal").
Patrick Hanenberger studied at Art Center for Transportation Design; interned at Pixar, met Christian while at school, and got into DreamWorks.
www.diekolonie.org/kolonie/landung.html
.JPG)
Yessssssss.
How their project evolved: take everything you've ever experienced… whatever interests you… always keep notebooks and notepads on you… always gather the specific things that interest you… connect tides and things.
Christian always liked looking at technical stuff like images… the first time he used a Wacom he made a series of illustrations… of engines and technical things.
Always liked a specific feeling of architecture and vegetation… always sketched away. When he met Patrick, one of the things that triggered the whole project… met his parents, and they told him about Australia's German population… how a rush started to buy back project in Germany; no one wanted to be left in Australia… which led to the idea of Kolonie.
A world where people wanted to get away, but were left behind… abandoned machinery… sketching without knowing what it was really about at first. Told Patrick about it and they teamed up.
Foreign planet; parallel universe? Very free flow; had beers and did drawings… encompasses stuff that they like; what they like to see, where they visit; an exercise of pure pleasure.
There was no plan in the beginning; it was just two friends drawing together. Make a team, a group… and ideas that you can develop years into the future. Don't neglect anything--anything can lead to something great!
Moebius--started drawing tank trucks in this world; led them to discuss--"what is this world? What is happening here?" All the stuff had a purpose… oil fields… and then the machinery took on a purpose.
-------------------------------------------
Slow painting: Started looking at how the world looks. They had all the ingredients now; put something together with it--a book.
Be inventive: gather ingredients: stuff that you like. They liked old things, so this world became kind of retro; they didn't look at Star Wars though. Looked at a lot of different areas though.
The final bit was to put it all in a book. Creating BASIC RULES for this world--a fundamental part of world-building. At a certain point can't be free-form anymore; you get to the details and things become specific, but they all have to follow the basic rules. Brought it all together.
Project happened on weekends, very slowly; always doodling; always fun and enjoyable. "Slow painting" is the opposite of "speed painting"--Patrick doesn't believe in that term. He doesn't believe in rushing; "it's not fast food, that's not how we do it at work". Painting over stuff, trying things… coming up with a shape language of carvings and murals that an ancient civilization would have. Part of the story is rediscovering… iconography. Make images that are rock solid--that is the point of slow painting.
They know why there are carvings in the rock; why the characters look like they do; why there are trees and foliage in specific places…. Know the details of your world.
Don't just keep inventing cool shapes; bring everything together. Don't feel lost in a wild shape language; always know that you are creating an image of your world; each time you draw something it's opening the window to that world a little more.
Generate more artwork and content based on an early idea; don't stop at one place; don't jam through hundreds of images either, but take a breather, take one image that's special for some reason, and tweak it… really focus and try to harness and finesse what's there; don't jam through content.
They'll see a lot of quantity in portfolios, but not much quality. Don't just draw an interesting looking world; be able to tell the story of the world, the kinds of characters living there… how they came to be there. Really know your story when you are world building.
-------------------------------------------
Working in a team: group efforts always encouraged in Germany. You get someone to challenge your vision at any point; someone who will kick you when you slow down and vice versa; the extremes keep you focused. There is never such a thing as a design that is ubiquitous, and then you're done; your personal growth is through butting up against someone and challenging yourself.
Everyone who likes certain things is in danger of doing them over and over again. Be grumpy with yourself and draw things even if you don't like drawing them. It's for your own benefit. Try something else; something new, that you've never done before.
-------------------------------------------
Concept discussion: Come up with a very solid concept. Could be one sentence, one word, one paragraph; you don't have to reinvent the way stories are told or how the human mind works. Don't have too much information; have one sentence that describes what your project is really about. "It's a battle between good and evil." "It's a downfall of a society." "It's a struggle for resources." "It's a forgotten empire." Something simple that you can expand upon. "An industrialized planet that has passed its prime, so people have left"--which is Kolonie.
Road map--geographical points; one of the first things they did. Which company industrialized the planet: How did they get started: Where are the factories? (More in the center because that is where it all started.) Transportation roads; undiscovered territories. A logo that is everywhere. Your map; atlas; can also tell you the climate of your area.
They decided on a country they've both been to, and established the scale of their countries; know how long it'll take to get from one point to another via walking or driving. Keep the world manageable and contained, so it all takes place in one area. That means the people are the same, the technology is the same; and everything is connected.
They never thought about… how long a day is on their world; if there are ice caps….
They knew they needed a bay area for their Kapitol city (central hub); a northern territory that is mainly unexplored (like Canada); and some tropical islands in the south (based on Indonesia)
-------------------------------------------
Designing for narrative: Took all the elements they had designed, and set up their era; took the technology they knew was possible in a parallel universe (for space travel technology with '40s era technology (?)). Write a few paragraphs explaining the core points of your world.
Come up with a concept first, very basic, though that is the hardest part; once you have that though, everything else will come easier. Why does this world exist, and what does it do?
Definition of narrative in this sense: why does something exist, and what is its backstory? Your design should make sense for the world that you create. It's all about connecting the dots; making everything cohesive.
You can create a complex world as a history book… without knowing any specific characters.
-------------------------------------------
Shape vs. Story: Shape-giving should be: form follows function; not be there just to be cool. Design elements should be there and be clear; should have a reason for existing. Think of what you're trying to say, rather than what will look cool. Don't over think the form; let it be driven by what the object is supposed to do. Designs understated and have a purpose. You don't have to be an engineer, but for example just looking at a car, you know how to get in, where to sit; how to steer it; where to put in the fuel; etc., etc..
-------------------------------------------
Research: 60's and 70's technology; limit yourself in where your world could go. Actually gives you a lot to explore; a lot can be done in 20 years. Constantly cross-check your research.
You can make it as outrageous as you like; take Egyptian technology and put it in the future; take African tribal masks and put them on robots… Pick an era of technology to help you with your stories and your rules; helps everything feel consistent.
East Germany/ Socialism: Shape language; the constant of design; political setup and influence. Government quarter; some places designed on the fly for political reasons…
Exotic Places: Combine East Germany with exotic places--find the most extreme opposite of that; central Africa or Malaysia; palm trees! Lush green plants. Designing a world that you like to play with; have a lot of things that you don't deal with in your daily life.
Traveling: A huge inspiration for their work; stress the importance of exploring the world; travel can be cheap; explore what's out there; get out of America, see how the world operates around you. Travel is the biggest source of inspiration for Patrick, more so than watching movies… being confronted with things every day that you don't know; the best thing is to go without a plan. Go without a plan; look at what clouds look like; how colors are affected in different areas; what the sun looks like, and rocks….
You can't learn these kinds of experiences in school; be lost and overwhelmed; how would it feel to land on this planet as an alien? The inspiration will last an entire life.
You don't have to go to Japan or Africa or any super-exotic locations; you can find very inspiring places in California… Florida… Montana… anywhere here. The decor of cities; the more you can put of your own experiences into your art, the more unique it will be. Spice your artwork up with things you know, not what "everyone else" knows. The atmosphere of being a foreigner in a foreign place… figuring out how things work; feel the vibe of a location… to make your own world believable. Fill your head with new things, what you don't know yet; otherwise you will only draw the same thing over and over again. Authenticity comes from this. Each location has a specific feel… you need to know how it feels though; you can't know from just seeing a photo. Feel the air, how different it is… you can apply these things to your art.
Traveling: Sometimes photos can inspire illustrations, and that's fine too; a good way to fuel your inspiration.
Electronic Music: Exchanging music between partners fueled creativity. 60's and 70's music… their albums can coincidentally inspire you or match your world's decor….
- Sounds from the Ground: High Rising
- Global Communication
- Antena: "Camino del Sol"
- boards of canada: music has the right to children
You can find their soundtrack on their website.
Travel Sketches: It's not about taking home great pieces. It's about learning… struggle in seeing things… don't put that pressure on yourself, especially while you are traveling; sometimes you will hit on something you really like.
Drawing while you travel instead of taking photographs… you get special connection to your experience. Capture the moment in your brain; you'll hardware it forever that way; take notes; put everything in, doesn't have to be just sketches; song lyrics that you like….
-------------------------------------------
EXERCISES:
1) Identify era of technology
2) Find a place of inspiration
3) Describe a basic concept
-------------------------------------------
4) Mix in a second place of inspiration (focus on atmosphere)
-------------------------------------------
5) Draw a map or a logo
-------------------------------------------
6) Come up with 3 species
-------------------------------------------
Found photographs (like at a flea market; amateur photography): Take bad composition, bad photographs, bad lighting… to find authenticity. "Someone was actually there and saw that…" As if somebody with a camera from that technology goes around and takes pictures. "Your world feels like someone actually went through your world and took photos." Finding old photos is almost like time traveling. Google can never give you that.
Retro feel: a longing for imperfection. Take away the perfect, staged photograph….
Flea markets: Gives you ideas for graphic design; shapes; colors. When your world isn't based on a specific era, you can look at anything, and take a part of it, and use it. Still find ideas for.. materials, textures, graphics, shapes, colors… a flea market is great for that; everything is there; you can photograph everything to give you ideas. Abundance of surprises.
Los Angeles: LA has vast exotic landscapes to offer… just look outside your door, there's always fantastic things to find everywhere. Go to LAX at sunrise; go to the LA river; go to Catalina Island
Constantly look at the things that surround you.
Source material: Finding stuff you can find and "steal"; take inspiration from stuff that is very close or very far from the actual object. Research is looking at what other people have done to design that object.
Model: the advantage of having physical models. You can direct and guide them; this is something a search engine can never give you; you can get hundreds of photos and models… give you endless inspiration; do a photo shoot. Take the authentic, the real, and give it a spin… then it will be grounded in some reality. Also if you own your own photo you can do anything with it. If you take a photo from online and copy it in certain ways, it would be considered stealing.
-------------------------------------------
Process: Start from doodles you can do within minutes; take that idea, find source material for research [Travel Town]; take photos and find arrangements that are so interesting you can't make it up; put it in Photoshop and play around with it; then merge your sketch with it….
Vegetation: Take photos of plants and change the scale in your drawings; just by changing the scale of a root, you can get an enormous tree, for example.
*Places mentioned: Traveltown (Griffith Park); Rose Bowl (Fleamarket); Huntington Library
-------------------------------------------
Graphic Design: Flags, banners, logos, advertising… a regular world inspired by what you know…. "You have to study graphic design, because that is the basis of all design and graphics in the world; what is the most essential way to communicate an idea, a symbol?" What do certain shapes mean? Graphic design is universal. Collect stuff that you think looks good….
Typography: A collection of logos and colors from the 60's and 70's; "What's my era; what's my inspiration?" Collecting a specific part of your era will also drive your graphic look in more and more specific directions.
Logos: Come up with fake companies!! Connect the dots with your world and what your fictitious companies would do there. The grand scale of connecting things--designing logos is a much smaller scale of that; mix and match; visual noise of a big place.
Logos applied: The amount of storytelling you can create just by applying logos (from big companies to small ones) on, say, racing cars, is great. Like taxis in New York or San Francisco.
-------------------------------------------
FORM FOLLOWS FUNCTION
- Design around human need
- Hardware design
- Shading Basics
STORY TELLING
- Props tell a story
- Mood variations of same subject
ENHANCING THE NARRATIVE
- Composition & Lighting (Ambush, Abandoned, Glory)
-------------------------------------------
Designing a vehicle (DEMO): Use a figure or doll for scale. Move it around within your canvas.

[Doll] Template-Designs: No. TD 1735B
Think about cone of vision. There needs to be enough room to look out the window. Believability in entertainment design. Design inside out--remember, form follows function! With a transport… needs windows… and a place to sit… block in basic shapes… styling comes LAST.
- BELIEVABLE DESIGN
- DESIGN FROM THE INSIDE OUT
- STYLING COMES LAST
Figure out scale by seeing how much space a person would need when standing/walking around inside the transport. Figure out what "one story" is. Bunk beds--lay the figure down to see how it would fit. You can draw in bunk beds to scale now.
Adding a second story? Use scale again. Transport in a hot/sunny area? Add a canopy on top.
Add legs to the transport so that animals can't climb in. Need an engine, not too close to the living quarters; and a cargo hold. A way to get in and out. Smaller windows and doors make the structure stronger. Weapons. Plumbing. Kitchen. Storage.
*You need to know what's inside in order to design what's outside!
Take the sketch layer, lower the opacity, put another layer on top, use the line tool to draw straight lines (for the mechanical feel); use the pencil tool for anything organic. Use Photoshop to move the limbs to see if they articulate for later animation purposes!
*If you want to do something outrageous--always pair it with something everyone knows.
Create another layer on top of the finished line drawing; set it to Multiply, fill in the outline with a dark, solid color. Lay in basic colors; dodge and burn to get basic shading colors…. Scratch that. Lay in black and white first, lay in color later--where is the sun direction coming from? Put another layer on top of this; la in a color, put the layer to Color; will retain the lighting and shading underneath.
*Christian and Patrick only have a few brushes in Photoshop.
Layers in Photoshop: Rough, Line art, Shade (set to multiply), Color (set to color)--with the color layer, you can change the hue any time you want if you need to change all the colors.
Cast shadows next. Set this layer to multiply. Call it Shadows.
Last layer is Texture (set to Soft Light).
- LINE
- SHAPE
- COLOR
- SHADOW
- TEXTURE
Perspective passes: extrude your side view… duplicate layer and lower opacity on it for something to guide you.
-------------------------------------------
Christian's Demo: Start with a frame. Drawing with a sharpie. Cut the frame (not good composition); drawing a second walker behind the first at different angles to show how they would move, and what kind of terrain they're going through.
.JPG)
Christian Schellewald drawing with Sharpies
- COMPOSITION - "Snapshot" Feel
- Show terrain through shadows on ground.
- Compose for the frame
- Do several compositions in thumbnails to see which one is strongest
Show how the walker works in a difficult terrain
Another drawing… looking down on the abandoned vehicle makes it "feel" miserable… not making a hero shot. Give some environment. Use some light and shadow. The light describes the overall shape and design.
Another drawing. Put it dead center; fill the frame with the facade of the thing. This is a hero shot… but the walker is destroyed here. Rust, broken window, fallen deflector shield; vegetation, ivy, creeping up; missing leg. Asymmetry.
- Looking down is weak/destroyed
- Looking up is heroic/strong
Another drawing. Real hero shot. Very traditional, straight forward glamour shot. Centered, up shot. Dynamic line from vegetation behind. Check the direction of the line to see if it is better than other options.
The constant thought process of why you are drawing things the way you are; brainstorming drives composition.
Keep a book of compositions that you see from movies or comics! Just really simple--don't take more than 5 seconds on each sketch!
Compose with FRAMING + LIGHTING!
*When you travel, create a repertoire, a shorthand… of "camera angles". This will help you when you draw from imagination. Travel sketching is all about recording and communicating.
Snapshot aesthetic!
Bad composition is not BAD composition; it's just not dead center and perfect. If you're telling a story, then there is no such thing as bad composition.
-------------------------------------------
DREAMWORKS
JOB
- Day job vs. Personal project.
Job still feels restricted. Illustrations are tighter. With personal projects, pick something that you really like. In a job, yes you are applying your taste and skills, but you're still selling your artistry to a big movie studio, and you're supposed to follow orders.
PROFESSIONAL WORK
- Collaborating with other departments
When you design something, make sure all departments will be able to work with it. Create something that is accessible for other artists.
In order to get your design successfully through the pipeline, you really have to do your homework.
VARIETY OF WORK
- Various projects all the time
- Gun for hire/mercenary
- Flexibility
- Niche vs. Broad
Need to be able to take your look and adapt it to a movie.
Don't do just your own style; be able to do a lot of things in the art department; be able to generate your own compositions, drawings, sketches, traditional or digital; it's a plus if you're able to draw characters as well; be able to compose these into full-blown, shaded, colored images; be able to put (color?) sheets together.
You are put onto movies because you are good at something; but you shouldn't be bad at everything else. Or you can be exceptionally good at one thing to be able to survive.
A lot of content needs to be created.
STUDIO ENVIRONMENT
- Culture
- Lifestyle
- Commitment
Dreamworks doesn't allow assholes to work there! Hah. Your behavior often wins over your skills. Important to be pleasant to work with. If you're not a nice guy, guess what--there's a hundred nice guys waiting to get in!
People who have a reputation of being hard to work with, have a hard time finding work.
Since studios are based on contracts, they have a commitment… and need to make sure that you're easy to work with.
Studios are open to you switching around between departments if you are able to do it.
Thumbnails/ loose/rough sketches to share ideas with artists--more finished work to show to producers.
ART DEPARTMENT STRUCTURE
- Professional attitude
- Following direction
- Team effort, no room for egos
You're only there because you're executing someone else's idea. Can be fun if your boss has really good ideas.
Overall portfolio note: if you show variations on a theme; if you can show that you take direction well, then this is a good thing for you. Art department nurtures their artists; when directors say something is not working, the art department covers for themselves, but ask for the changes among their artists; if they can't do it, that's really bad for them.
WORK HARD & BE NICE
- It's a small industry
- Good work speaks for itself
- Don't degrade others
There is a lot of room for friendly discussion, but there IS a point of no return. Then you just have to do it.
NEVER degrade other people. Don't talk back to other people. You never know how far other people will rise!
Animation people are nice! lol
Don't be too protective about your work; if you're good, you'll be fine anyway, and have no reason to be protective. It's a very nice, free, open environment in animation.
PRODUCTION VS. DEVELOPMENT
- Problem solving vs. blue sky
- Creating the elements of a coherent world
- The way things work
- Amateur: engineer, graphic designer, botanist, archeologist, product designer, architect, fashion designer, advertising creative (you should be able to create all these things)
Everything has to be made up from nothing.
Create a library of images for yourself to know how to deal with… suburbia, Mexico, ancient Spain, etc., etc..
-------------------------------------------
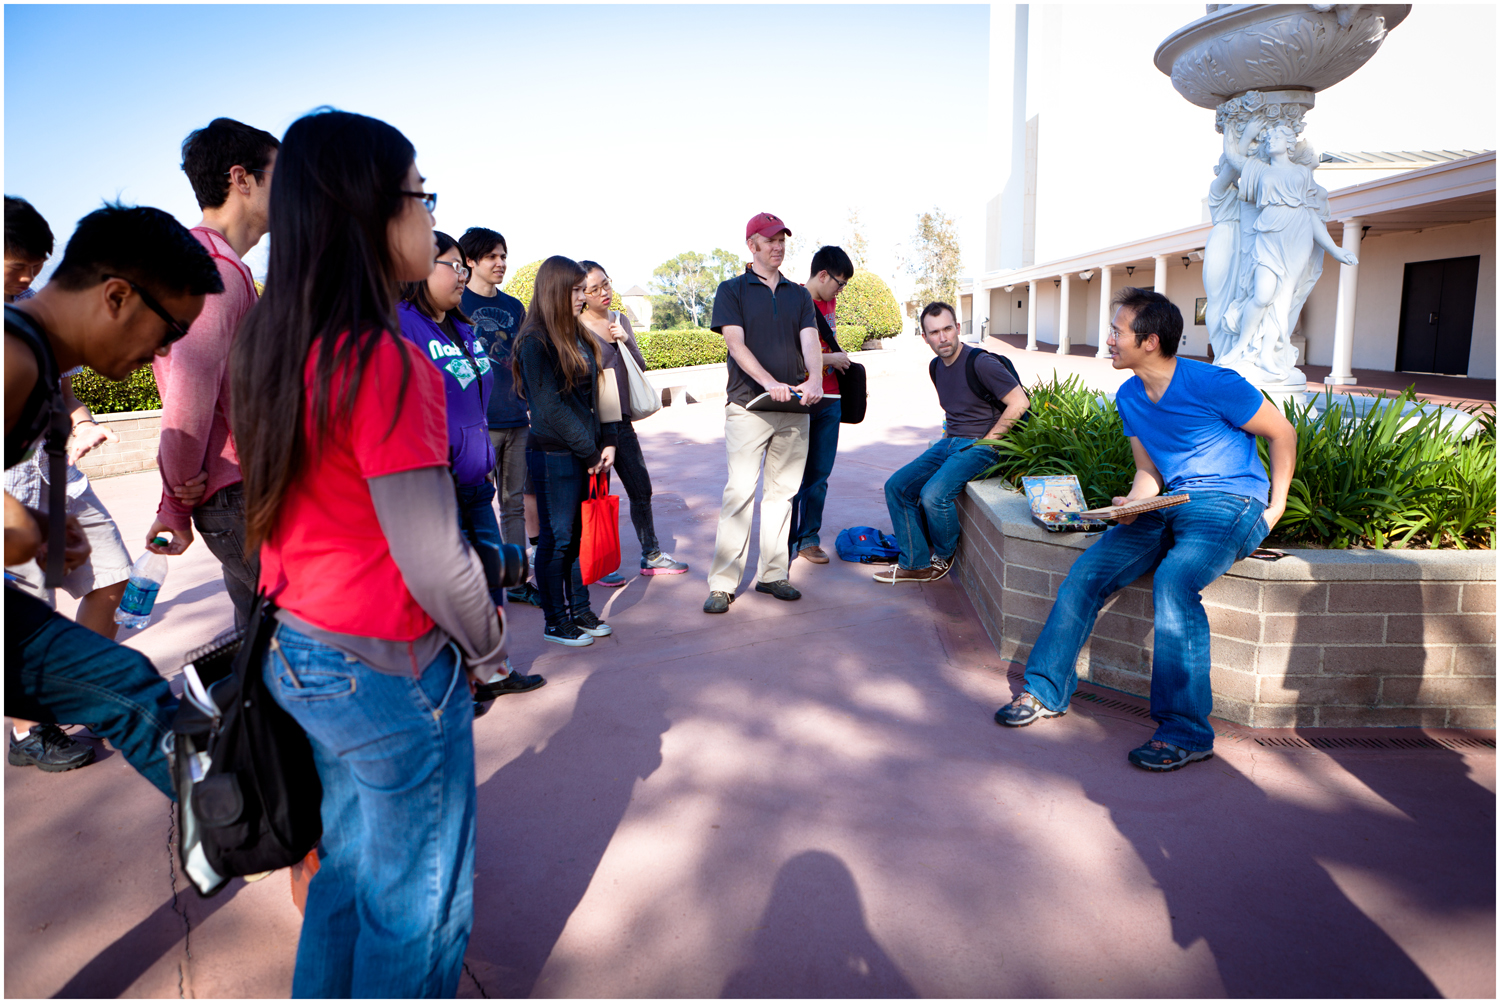
Book Signing:
.JPG)
Patrick Hanenberger on left and Christian Schellewald on right
.JPG)
.JPG)
.JPG)
.JPG)
-------------------------------------------
After I got back home from the workshop I felt inspired to try drawing the way Christian Schellewald did, using a regular old Sharpie. Almost all of these compositions and figures were copied from memory from what Christian demoed on Saturday. I'm definitely going to continue practicing this style of drawing... it's very liberating.
.JPG)


.JPG)

